Charging a mobility scooter battery correctly maximizes range, prolongs battery life, and reduces safety risks. This guide walks US scooter owners through battery chemistry, step‑by‑step charging procedures, safety precautions, storage and troubleshooting. Whether your scooter uses sealed lead‑acid or modern lithium packs, you’ll learn practical actions and checks to keep your scooter reliable and ready for every ride.
Understanding mobility scooter batteries and why correct charging matters
The battery is the heart of your mobility scooter, and just like your own heart, it needs proper care to perform its best. Understanding what kind of battery you have and why the right charging routine is so important is the first step toward ensuring your scooter is always ready to go when you are. This knowledge not only protects your investment but is also crucial for your safety and the scooter’s reliability.
Most mobility scooters today use one of two main mobility scooter battery types. The long-standing traditional choice is the Sealed Lead Acid (SLA) battery, often seen in its Absorbed Glass Mat (AGM) or Gel variations. These are the heavy, reliable workhorses of the scooter world. They are less expensive upfront but come with trade-offs. They are significantly heavier, which can affect the scooter’s portability and handling. Their energy density is lower, meaning they are bulkier for the amount of power they provide. A typical SLA battery might last for 200 to 500 charge cycles, which translates to about one to three years of regular use before you notice a serious drop in performance. They also have a higher self-discharge rate, losing about 3-5% of their charge per month even when not in use, and require regular top-offs to prevent permanent damage from a process called sulfation.
The newer technology on the block is the Lithium-ion battery, with Lithium Iron Phosphate (LiFePO4) being a particularly popular and safe choice for mobility applications. The difference in SLA vs lithium scooter batteries is night and day. Lithium batteries are significantly lighter, often by 40-60%, than their lead-acid counterparts for the same capacity, making a huge difference if you ever need to lift them. They boast a much higher energy density and a vastly superior battery lifecycle, often rated for 2,000 to 4,000 cycles. This means a lithium battery can potentially outlast several sets of SLA batteries, lasting from two to six years. Their self-discharge rate is also lower, typically under 2% per month, making them better for intermittent use. The main drawback has traditionally been the higher initial cost, though this is balanced by their longer lifespan.
Your scooter’s electrical system is designed for a specific voltage. Most scooters run on a 24-volt system, which is usually created by linking two 12-volt batteries together in a series. Smaller travel scooters might use a single 12V battery, while larger, heavy-duty models can use 36V or 48V systems for more power and range. It’s critical to know your scooter’s voltage to ensure you use the correct charger.
To figure out what you have, you just need to look at the battery labels. This sticker is your battery’s birth certificate and instruction manual all in one. Here’s what to check:
- Voltage (V) and Amp-Hour (Ah) Rating. Voltage must match your scooter’s system (e.g., 12V or 24V). The Ah rating is like the size of the fuel tank; a higher Ah number, like 35Ah versus 18Ah, generally means a longer range.
- Chemistry. The label should clearly state if it’s SLA, AGM, Gel, or a lithium type like Li-ion or LiFePO4. This is the most important piece of information for choosing the right charger.
- Manufacture Date. Often stamped as a code or a simple month/year. A battery’s life starts when it’s made, not when you buy it. Avoid purchasing batteries that have been sitting on a shelf for more than six to twelve months.
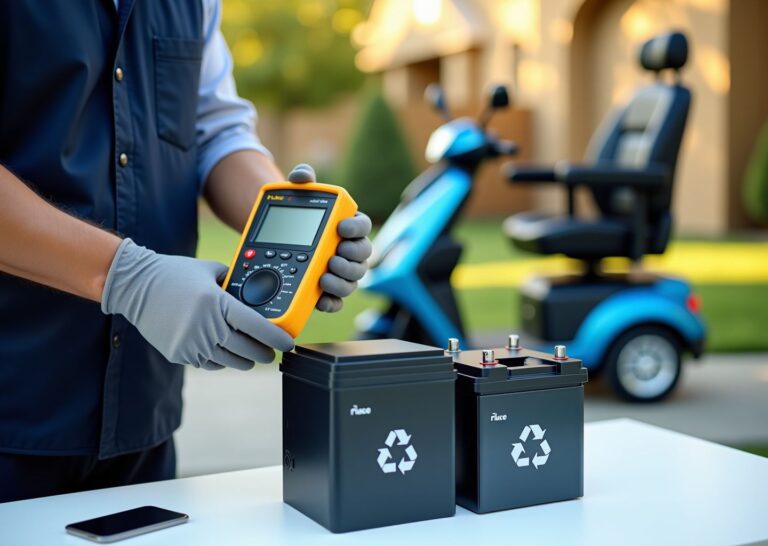
- Safety Symbols. Look for symbols indicating proper recycling (a triangle with arrows), warnings (do not incinerate), and the “Pb” symbol for lead on SLA batteries.
One of the biggest differences between chemistries lies in their internal management. A lithium battery pack contains a sophisticated electronic circuit called a Battery Management System, or BMS. Think of the BMS as an onboard computer that constantly monitors the battery. It protects the cells from overcharging, over-discharging, excessive current, and overheating. It also keeps the individual cells inside the pack balanced, ensuring they all work together efficiently. This is a key part of scooter battery safety for lithium packs. SLA batteries, on the other hand, have no such internal brain. They rely completely on the external charger to provide the correct voltage and for you, the user, to avoid draining them too deeply.
This is why using the correct charging method is not just a suggestion, it’s a requirement. For safety, using an incorrect charger on a lithium battery can bypass the BMS’s protections, leading to overheating and, in rare but serious cases, a fire. For longevity, both battery types suffer from improper charging. Consistently draining an SLA battery too low or overcharging it will drastically shorten its life. For performance, a well-maintained and properly charged battery will deliver the maximum possible range and perform better in cold weather, which is known to temporarily reduce any battery’s capacity.
Eventually, all batteries wear out. Be on the lookout for these quick signs of a failing battery:
- A sudden and significant loss of range.
- The battery case is swelling or bulging. If you see this, stop using and charging it immediately.
- Visible corrosion (a white or greenish powder) on the terminals.
- The battery takes much longer than usual to charge or doesn’t seem to reach a full charge.
- Your charger’s indicator lights show a fault or error.
Finally, there are a few practical considerations for scooter owners in the US. If you plan to fly, be aware that airlines have strict regulations for lithium batteries, governed by the FAA. You must contact your airline well in advance to declare your mobility device and confirm their specific rules regarding battery size (measured in Watt-hours) and whether batteries must be removed. When it’s time to replace your batteries, you cannot simply throw them in the trash. Lead-acid batteries are considered hazardous waste and must be recycled. Most retailers that sell them will accept old ones for recycling. For both lithium and lead-acid types, programs like Call2Recycle can help you find a local drop-off point. Always check your local county or state’s hazardous waste regulations for proper disposal procedures.
Step by step correct charging method and best practices
Charging your mobility scooter battery correctly is the single most important routine you can establish for its health and your safety. It’s not complicated, but following a consistent, proven method prevents damage, extends battery life, and ensures your scooter is ready when you need it. Think of this as your definitive checklist for a perfect charge, every time.
Your Pre-Charge Safety Checklist
Before you plug anything in, take a minute to run through these quick checks. This habit can prevent serious problems down the road.
- Know Your Gear.
Your scooter’s owner’s manual is your most trusted resource. Read the section on battery charging. Confirm your battery’s chemistry, whether it’s a Sealed Lead Acid (SLA/AGM) or a lithium type like LiFePO₄. Now, look at your charger. Its label must match your battery pack’s voltage (e.g., 24V) and chemistry. Using a charger designed for an SLA battery on a lithium pack, or vice versa, is a dangerous mismatch that can lead to battery damage or even a fire. Ensure the charger is the one that came with your scooter or a certified equivalent recommended by the manufacturer. - Perform a Visual Inspection.
Look closely at the battery terminals and the charger’s connectors. You’re checking for any white or greenish powdery buildup, which is a sign of corrosion. Corrosion creates a poor connection and hinders charging. Also, inspect the battery case itself. If you see any swelling, bulging, or cracks, or if you notice any fluid leaks, do not charge the battery. A damaged battery is a serious safety hazard. It must be disconnected safely and taken to a professional for disposal.
The Correct Connection and Disconnection Sequence
The order in which you connect and disconnect your charger matters. Following this sequence minimizes the risk of an electrical spark, which can damage the sensitive electronics in your scooter or charger.
- Make sure your mobility scooter is turned off and the key is removed from the ignition.
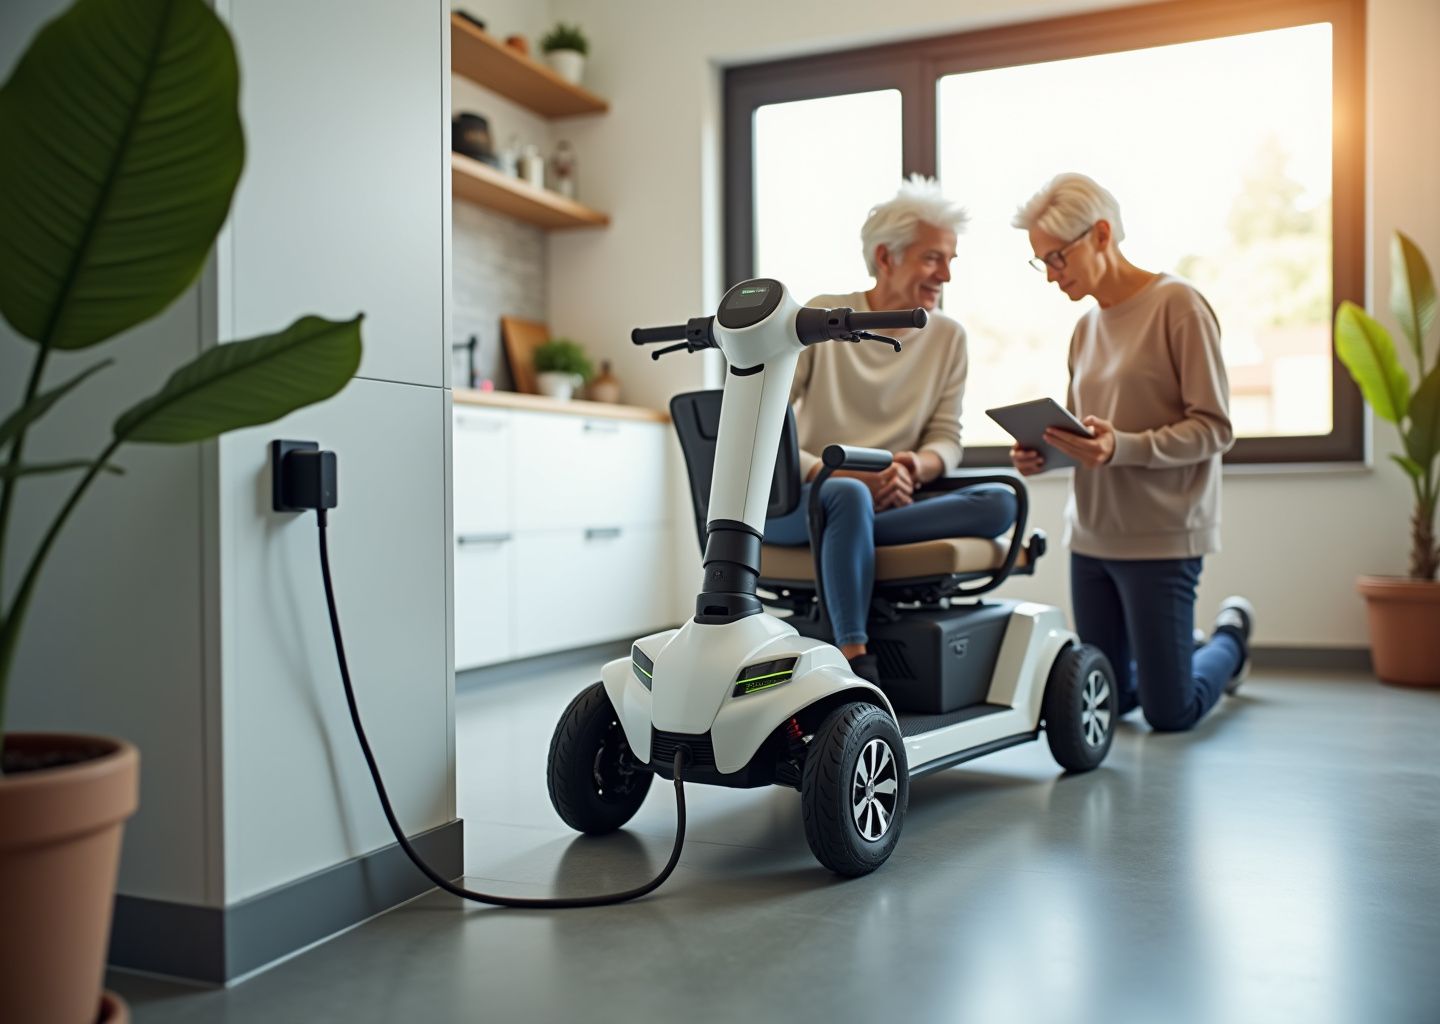
- Connect the charger’s output plug into the charging port on your mobility scooter first. Ensure it’s a snug and secure fit.
- Plug the charger’s power cord into a properly grounded, indoor electrical outlet. In the US, this is a standard three-prong outlet.
When charging is complete, you’ll reverse the process.
- Unplug the charger’s power cord from the wall outlet first.
- Disconnect the charger’s plug from your scooter’s charging port.
Understanding the Charging Process
Once connected, the charger gets to work. Most chargers use indicator lights to communicate their status, but the color codes can vary. A common pattern is a solid red light to indicate it’s actively charging and a solid green light to show the battery is fully charged. A blinking light often signals a fault, like a poor connection or a battery problem. Again, your manual is the final authority on what your charger’s lights mean.
Estimating charge time is straightforward. A simple formula gives you a good idea of how long it will take.
Charge Hours ≈ Battery Amp-hours (Ah) ÷ Charger Current (Amps)
For example, a common 12Ah battery paired with a 2A charger will take roughly 6 hours. A larger 35Ah battery with a 5A charger would take about 7 hours. Keep in mind this is an estimate; charging a deeply discharged SLA battery can take 20-40% longer due to chemical inefficiencies. Most standard chargers (2A to 5A) are designed for a convenient overnight charging window of 8 to 12 hours.
Many chargers for SLA batteries are “smart” chargers that enter a float or maintenance mode after the main charge is done. This provides a very low current to keep the battery topped off without overcharging, which is great for SLA batteries. However, you should not leave a lithium battery on a standard float charger unless the charger and the battery’s management system (BMS) are specifically designed for it.
Best Practices for Location, Temperature, and Frequency
Where and how often you charge are just as important as the connection sequence.
Location and Temperature.
Always charge your scooter indoors in a dry, well-ventilated area. Choose a hard, nonflammable surface like a concrete garage floor, not a carpet or near curtains. Heat is a battery’s enemy, so keep the charger out of direct sunlight and ensure air can circulate around it. Avoid charging in extreme temperatures. The ideal range is between 50°F and 85°F. Never charge a frozen battery (below 32°F / 0°C) and avoid charging in temperatures above 104°F (40°C), as this can accelerate battery degradation. When charging in a garage, basement, or outdoors, it’s best to use an outlet protected by a Ground Fault Circuit Interrupter (GFCI). This adds a layer of protection against electrical shock, especially in areas where moisture might be present.
Charging Frequency.
The best practice is to charge your batteries after every use, no matter how short the trip. This is especially true for SLA batteries, which suffer from a condition called sulfation if left in a discharged state. Avoid running your batteries down completely. If you plan to store your scooter for more than a month, fully charge the SLA batteries first and then top them off monthly. For lithium batteries, check your manual; manufacturers often recommend storing them at a partial charge, around 40-60%, and checking them every few months.
Frequently Asked Questions common charging concerns answered
Can I drive while charging?
No, you should not and likely cannot drive your scooter while it is charging. Nearly all mobility scooters are equipped with a safety feature called a charger inhibit, which disables the motor and drive system when the charger is plugged into the scooter’s charging port. This is designed to prevent damage to the electrical system and to avoid the obvious hazard of driving away with a power cord attached. Attempting to override this safety feature is dangerous and could result in costly damage to your scooter’s controller or charger.
Can I use a car battery charger or a universal charger?
You should never use a standard car battery charger on your mobility scooter batteries. Car chargers are designed for starter batteries and deliver a very high current that will quickly overheat and destroy the deep-cycle batteries in your scooter. Using one is a serious fire hazard. As for “universal” chargers, proceed with extreme caution. To be safe, a universal charger must be explicitly compatible with your battery’s specific chemistry (e.g., AGM vs. LiFePO4), voltage (e.g., 24V), and amperage rating. The safest choice is always the original manufacturer’s charger or a certified replacement from your dealer.
Why is my battery not holding a charge?
If your scooter’s range is suddenly much shorter than it used to be, the batteries are likely nearing the end of their life. Over time, all batteries lose their ability to store energy. This is the most common reason. Other potential causes include a faulty charger that isn’t delivering a full charge, corroded battery terminals creating a poor connection, or an internal fault in one of the batteries.
Troubleshooting Steps:
- Inspect the battery terminals for any white or greenish powder (corrosion) and clean them if necessary.
- Ensure the charger is working correctly. A technician can test its voltage output.
- If the batteries are more than two years old and used regularly, they are the most likely culprit and probably need to be replaced.
Final takeaways and battery care checklist
We’ve covered a lot of ground, from the different battery types to the specifics of charging. Now, let’s bring it all together into a simple, practical framework. Proper battery care isn’t about memorizing complex technical details. It’s about building consistent habits that protect your investment and ensure your scooter is ready to go when you are. Think of your battery as the heart of your scooter. A little regular attention goes a long way in keeping it healthy and reliable for years to come. The key is consistency. Following a simple routine removes the guesswork and helps you catch small issues before they become big problems.
The most important takeaway is that your battery thrives on routine. Regular charging after use, using the correct manufacturer-supplied charger, and storing it properly are the three pillars of battery longevity. Deeply discharging your battery, especially a Sealed Lead Acid (SLA) type, is one of the fastest ways to shorten its life. Similarly, using an incompatible charger is like feeding it the wrong diet; it can cause irreversible damage or create serious safety hazards. Finally, batteries are sensitive to extreme temperatures, both hot and cold. Storing and charging your scooter in a moderate, dry environment is crucial for maintaining its capacity and overall health.
Your Mobility Scooter Battery Care Checklist
Here is a straightforward checklist to help you stay on top of battery maintenance. You can bookmark this page or print it out and keep it near your charging station as a handy reminder.
-
Daily / After Each Use
These are the quick checks you should do every time you finish a ride. They take less than a minute but are your first line of defense against common problems.- Inspect the Battery and Charger. Before plugging anything in, do a quick visual check. Look for any cracks, swelling, or bulging on the battery case. Check the charger and its cables for any frayed wires or damage. If you see anything concerning, do not charge the battery.
- Connect Correctly. Always follow the recommended sequence. Turn the scooter off first. Then, plug the charger into the scooter’s charging port. Finally, plug the charger into a grounded wall outlet. This prevents electrical arcs that can damage the charging port and electronics.
- Charge as Recommended. For most SLA batteries, it’s best to charge them fully after every use, even short trips. This prevents sulfation and keeps the battery in optimal condition. For lithium batteries, follow the manufacturer’s guidance, but a full charge is also generally fine. Aim for an 8 to 12-hour charging session overnight.
-
Weekly / Monthly Maintenance
These tasks require a little more attention but are vital for long-term health, especially for lead-acid batteries.- Clean the Battery Terminals. Once a month, inspect the battery terminals for corrosion, which often looks like a white or greenish powder. If you see any, disconnect the battery and clean the terminals with a mixture of baking soda and water applied with a stiff brush. Rinse with clean water, dry thoroughly, and apply a thin layer of petroleum jelly or a terminal protector to prevent future buildup.
- Check Electrolyte Levels (If Applicable). This only applies to non-sealed, flooded lead-acid batteries, which are rare in modern scooters but still exist. If you have this type, check the electrolyte levels monthly and top off with distilled water as needed. Most scooter batteries are Sealed Lead Acid (SLA) or lithium and are maintenance-free.
- Top Off the State of Charge in Storage. If you’re not using your scooter for more than a few weeks, don’t just let it sit. For SLA batteries, charge them fully at least once a month to prevent deep discharge. For lithium batteries, it’s often best to store them at around 50-60% charge and check them every few months. Consult your manual for specific storage recommendations.
-
Quarterly Checks
A few times a year, it’s a good idea to perform a more thorough health check to gauge your battery’s performance.- Measure Resting Voltage. After a full charge and letting the battery rest for at least four hours, use a multimeter to check the voltage. A fully charged 24-volt SLA system should read around 25.2 volts or slightly higher. A reading below 24 volts may indicate a problem.
- Test Your Range. Take your scooter on a typical route and note how far you can go. Compare this to what you remember getting when the batteries were new. This real-world test is one of the best indicators of declining capacity.
When to Consider a Replacement
Even with perfect care, all batteries eventually wear out. Knowing the signs of a failing battery helps you replace it before you get stranded. Here are the key triggers that mean it’s time for a new set.
- Rapid Drop in Range. This is the most common sign. If a trip that used to consume half your battery now uses three-quarters or more, the battery’s ability to hold energy is fading.
- Fails to Hold a Charge. You give it a full overnight charge, the indicator turns green, but the battery is dead or very low after just a short time.
- Physical Damage. Any visible swelling, bulging, cracking, or leaking is an immediate red flag. A damaged battery is a safety hazard and should be replaced and recycled immediately. Do not attempt to charge it.
- Age. Batteries have a finite lifespan. For a typical Sealed Lead Acid (SLA) battery, expect a replacement window of 1 to 3 years. For a higher-quality Lithium (LiFePO4) battery, you can often expect 2 to 6 years of service. Your usage patterns will heavily influence this; daily, heavy use will wear a battery out faster than occasional, light use.
A Simple Troubleshooting Path
If your scooter isn’t charging, don’t panic. Follow these simple steps in order before calling for professional help.
- Check the Basics. Is the charger firmly plugged into the wall and the scooter? Is the wall outlet working? Plug a lamp or another device into the outlet to confirm it has power. Check any circuit breakers or fuses related to the outlet.
- Measure the Voltage. If the outlet is fine, use a multimeter to check the battery’s resting voltage. If it’s extremely low, the charger may not initiate a charge. Also, check the charger’s output voltage at the plug to see if it’s delivering power.
- Try a Known Good Charger. If you have access to another charger that you know works and is compatible with your scooter, try using it. If the scooter charges, your original charger is likely faulty.
- Contact a Professional. If you’ve tried the steps above and it still won’t charge, it’s time to call your mobility scooter dealer or a certified technician. The issue could be with the scooter’s charging port, internal wiring, or the batteries themselves.
Your Top Safety Rules to Remember
Always prioritize safety when handling and charging your batteries.
- Only use the charger that came with your scooter or a certified replacement from the manufacturer.
- Never, ever attempt to charge a battery that is swollen, cracked, leaking, or otherwise damaged.
- Charge in a dry, well-ventilated area on a nonflammable surface like a concrete garage floor, away from flammable materials.
- When your batteries reach the end of their life, recycle them responsibly. Most battery retailers and local hazardous waste facilities will accept them.
Proper battery care is the single most important thing you can do to ensure your mobility scooter remains a reliable partner in your independence. We encourage you to bookmark this checklist for easy reference and always consult your scooter’s owner’s manual for model-specific instructions. For more in-depth information, explore our other posts on choosing the right battery type, detailed model reviews, and essential accessories for safe and comfortable riding.
References
- Batteries for Mobility Scooters: Types & Replacement Guide — The most suitable batteries for mobility scooters are Sealed Lead Acid (SLA), Absorbed Glass Mat (AGM), and LiFePO₄ (Lithium Iron Phosphate) …
- What is a Mobility Scooter Battery: Definition, Types & Costs — 12V Batteries: 12V mobility scooter batteries are used as travel scooter battery. Travel scooters have a small and lightweight design. Therefore …
- A Guide to Buying Mobility Scooter Batteries — All scooter / electric wheelchair batteries are 12 volt and are usually fitted in pairs, which gives a 24 volt output.
- A Complete Guide To Buy Best Mobility Scooter Battery — There are two main types of batteries used in mobility scooters. They are lithium-ion batteries and lead-acid batteries. Each has its pros and …
- Wheelchairs and Mobility Scooters – Interstate Batteries — Mobility scooters typically run on two 12V batteries connected in a series, equating to 24V of power, but they have one charger input. Can you put a bigger Ah …
- The Definitive Mobility Scooter Batteries Buying Guide – Reyhee — The most prevalent are sealed lead-acid (SLA) batteries and lithium-ion batteries. SLA batteries tend to be more budget-friendly and are …
- Ultimate Guide to Mobility Scooter Batteries – Discount Medical — There are three main types of batteries used in mobility scooters: lead-acid, lithium-ion, and gel batteries. Each type has its unique advantages and drawbacks, …
- A Complete Guide to Electric Scooter Battery Specifications Types — A: The vast majority of modern electric scooters use Lithium-ion (Li-ion) batteries due to their high energy density and light weight.